You Happy Dance because it was so easy, so fun and looks SO GOOD that you sometimes forget you didn't buy it but you made it.
My friend and I made one such gem today.
After one conversation with Sarah we were head over heels with each other.
We had found our crafting buddy!
She has been trying for a few weeks now to come over and have a "Craft Day".
Finally we found a date and the craft requests and supplies started texting in...

Their tutorial is amazing and that is what we followed so if you love this... go over there and make one of these SUPER EASY babies yourself!
Here are ours!
Awesome twenty minute project.
Besides that beauty Sarah wanted to make a Growth Chart Ruler.
Those are two incredibly easy crafts that we could totally pull off in one morning with
three toddlers running around.
I've made a Growth Chart Ruler before to chronicle
my little Monsters growth-
I assumed this Growth Chart Rulerwould be exactly the same. It's like a three process step and you can knock one of these puppies out in as fast as you can get your wood stain to dry!
So she went shopping and brought over this amazing new stain color I hadn't seen yet!
I was so excited about it I brought some projects of mine out to stain as well. Plus she left it at my house so I could play with it for other projects!! True Friend.
She bought a regular 1”x6” foot board board for under $5 at Home Depot. Under $5 people!
When you buy a board to make a ruler chart make sure it's six feet, that it has some good knots in it and also that it is level. Look at it sideways and make sure it's not bowed. If it is when you put it on your wall it will pop up (like mine does... oie...) You want it to be flat against your wall so try and find the straightest board you can.
We brushed on the stain, wiped it off after about twenty minutes to make sure there weren't any wet spots (wet stain spots... Will Not Dry no matter how much time you give them.)
I brought it in for the night so it wouldn't warp outside and the next day we put it on the counter to put on our inch marks and numbers!
Now here is where a regular Growth Chart Ruler craft changed suddenly and completely...
I pulled up Pinterest and "Growth Chart Ruler" to show Sarah all the options she had for how to position the numbers and inch marks on the chart.
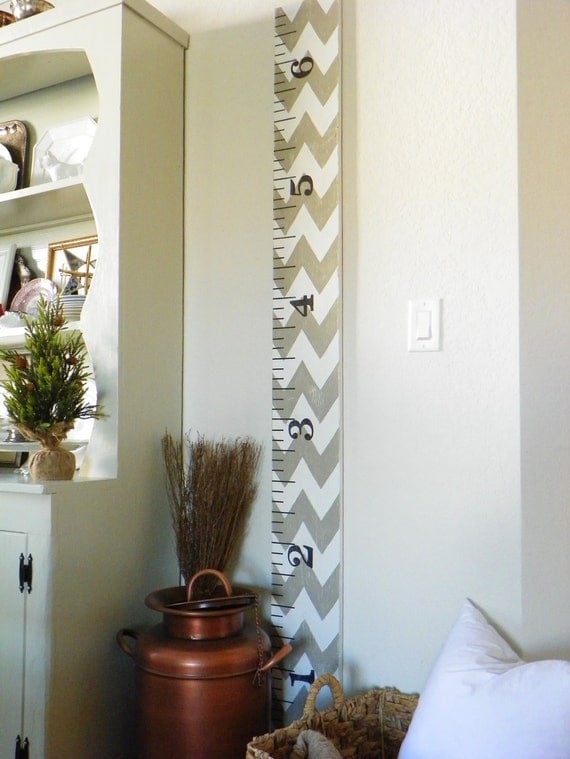
While looking... we saw this BAD BOY:

It's from an adorable Etsy shop called Winder and Maine Shoppe and that piece of awesomeness... costs $70 + $28 to ship it. I almost had a heart attack... that's $98 for a piece of wood!!!
I nearly fainted...
Thankfully Sarah and I have the same problem. We see a craft... and have to do it.
We saw this and immediately thought...
It is gorgeous.
Bet we could do it....
So we got to work!
Now Chevron is amazing... so beautiful... so horrible to pull off... Right?
Yea, if you sit there and tape it off.... It's a stinkin nightmare.
But please don't. Save yourself!! Do it this fast and EASY WAY!!
First: We found a Chevron pattern we liked. We wanted a big fat one so we googled big chevron and soon realized we'd have to tweak one ourselves. Here is my final project:
Feel free to steal this puppy for your use in any Chevron Project you do.
We just used the middle Chevron stripe.
I made it an 8x11 so it would print right on a regular piece of card stock. I also took out all the color in it so I wouldn't use all my ink. (I try and be thrifty like that...)
We cut out the one Chevron strip we wanted and than got some self-adhesive vinyl.
I have a Cricut so have some of that stuff lying around alot. If not it can easily be bought at Hobby Lobby and with a 40% coupon it will be worth the price.
Second: We rolled out our pink self adhesive vinyl and laid our design on it. We traced two Chevron strips on it. You NEED at least two.
Third: We placed our new Chevron Stickers on our board and started painting!
This is a great picture except that I'm not wearing my wedding rings... H
Obviously I should NOT wear my wedding rings when crafting cause who knows what I'd do to them... but I felt I needed to mention that they SHOULD be there cause my husband spent so much love and money on them... and I LOVE THEM. Thank you baby!
Ok back to the craft...
Since the board had an amazing light gray stain we wanted to keep with the rustic look so we got out some just regular house paint I had left over and a brush to dry brush on the white chevron stripes.
Dry brushing is super easy... you just dip your brush in a tiny bit of paint and than try and brush it all off on your project. It's a crazy light coat that dries within seconds. You can do any brush stroke, up and down, left to right... the more crazy the cuter it looks.
Then we would just take the top Chevron Sticker and move it under the next one. Ours were
3 ½ inches wide so we would measure from the middle tip 3 ½ inches down and place the sticker there.
Was it always perfect? No... but we were able to fix any small mess ups I made quickly and would just compensate on the next one moving it back over a bit.
The end result... was stunning.
That's my friend Sarah! She's super cute!
And it took a whopping... half an hour. HALF AN HOUR PEOPLE!!!
If we would have measured we would still be measuring...
Now we were back at where we started putting on some inch marks and the numbers!
You can do this any way you like. All to the left. All to the right. Numbers on one side, inch marks on the other... or numbers sideways!
It's all what you enjoy to look at.
Sarah wanted her numbers closer to the inch marks so we took the same number outlines I had printed out for my Ruler Chart and just stuck them on the board. We dry brushed some black craft paint into the outline number holes and VIOLA!!!
It's adorable isn't it?!
Happy Craft Dance!
We did learn the 5 is a little further out than the other numbers but... we just are gonna say that's the goal we'd really like her son John to hit so we totally did that on purpose.
If you have always been wanting to do a Growth Chart Ruler (and you know you have) go ahead and do it! It takes so little time and the satisfaction you get from a job well done...
You'll be doing a Happy Craft Dance.
And hey, if you don't have the time to make one or it just isn't your thing (and trust me I understand)...
I know this Etsy shop that makes beautiful ones. d
Here are ALL the materials you'll need to make the beauty above:
- 1 - 1"x6" foot board.
- Wood Stain
- White paint (primer paint, house paint, craft paint, ect...)
- Chevron Pattern
- Self Adhesive Vinyl (for Chevron & Numbers)
- Ruler
- Sharpie (That's what we made all the inch mark lines with)
- Black craft paint
You can get all those for probably under $20.
$20 for an amazing Growth Chart Ruler... You made yourself!
Hey... you might be so good at it you could sell them online on Etsy.
Just don't expect me to buy one unless I win the lottery.
Have a great week!
God Bless & Much Love,
Jessica
This post is linked up at:


Great job and so cute! Ya'll are so crafty! :)
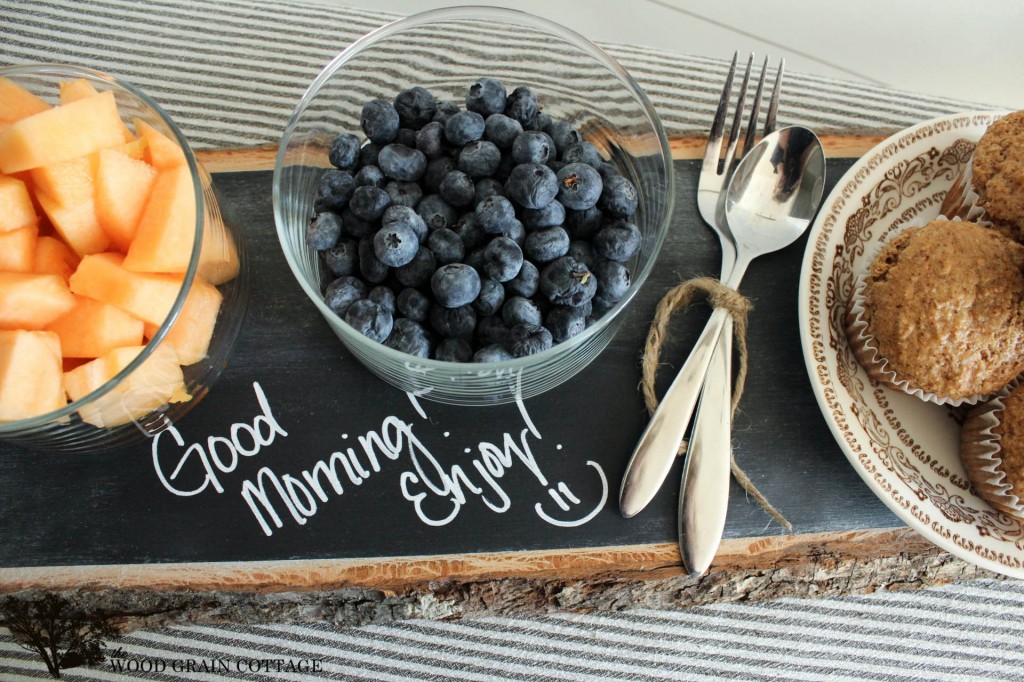
ReplyDeleteWow! That looks great! =) And I love the chalkboard serving tray! Thanks for linking up at the Pinterest Power Party! Happy Friday!!
ReplyDeleteDanielle
SewMuchCrafting.com
I like your website. Thank you for great information. I will come back to your website again.
ReplyDeletebest regards
Thank you!!
DeleteHow did you do the numbers? Any tips on measuring out the lines?
ReplyDeleteLove! Thanks!
Hi! The numbers were cut out with my Cricut. We used the outline of them kinda like a stencil like we had done with the Chevron. I used an old fashioned yard stick for all the measuring. I started at the bottom with a 6" inch mark (since you want to account for your baseboards) and ticked all the way up with a pencil then went back with a sharpie/paint pen and filled the lines in. Hope that helps! Let me know if you have any other questions!
DeleteHow did you attach the growth chart to the wall?
ReplyDeleteMy husband actually screwed it into a stud in the wall. One at the top and one at the bottom near the middle. If you didn't want something that permanent you could get a sawtooth hanger and nail that into the back of it and use a anchor. I'd get one that can hold at least twenty pounds in case kiddos yank on it. Hope that helps!
DeleteYes, thanks! I was thinking about making this as a baby shower gift. The soon to be mama is in love with the chevron pattern. I was a little concerned about it falling onto a small child. Your pattern did give me inspiration though. I think I might see if I can find a long piece of cardboard and cover with chevron fabric; and then use fabric paint to make the ruler markings and numbers. I will probably add a coordinating ribbon at the top to hang it by.
DeleteExcellent goods from you, man. I've be mindful your stuff previous to and you're
ReplyDeletesimply extremely great. I really like what you've got right here, really like what you are saying and the way through
which you say it. You are making it entertaining and you still care
for to stay it smart. I can't wait to learn much more from you.
This is really a wonderful website.
Here is my blog post bathroom remodeling contractors ()