A lot of factors were stopping me from my project though... like being pregnant, in the middle of moving to a new state and the all important no supplies or room to keep said project once finished.
Yet, now after seven months I have solved all of those issues, made my beautiful jars and than had the, "Oh..." moment. Not the, "Oh this is fantastic!" but the "Oh, I could have done this much easier and cheaper and they also are much smaller than I thought" oh moment.
...But I still love them!! :)
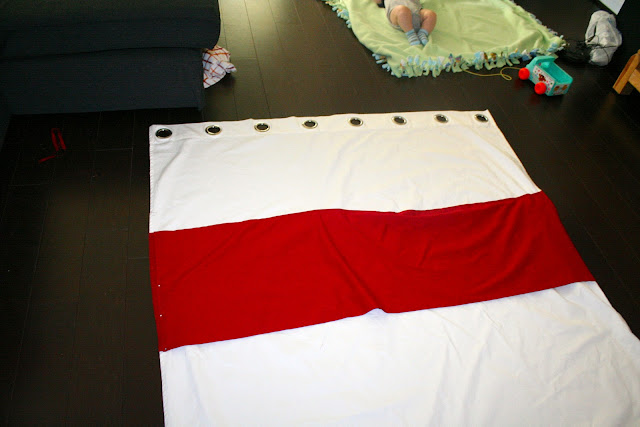
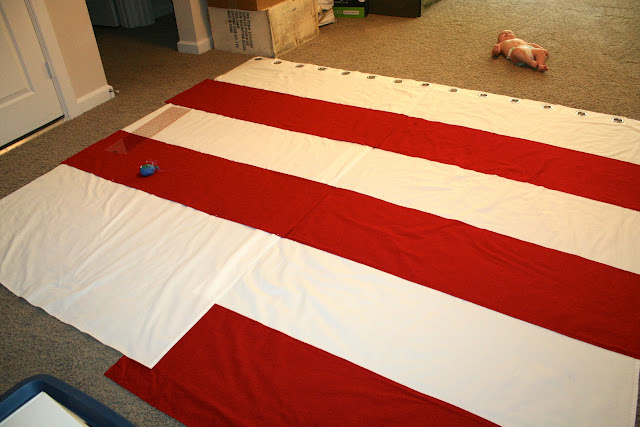
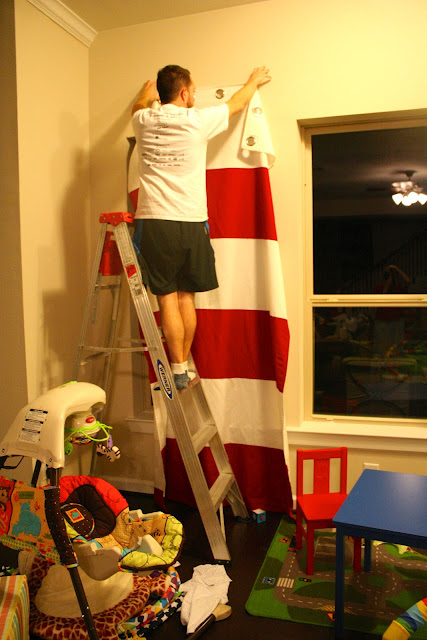
Lately I've been finding that each project I do as soon as I finish someone pins on Pinterest the same exact project yet a ton cheaper and always way easier. Like, while I was nesting I decided to make floor pillows for Elliot so he could watch Sesame Street. $150 and two weeks of my time later I have two awesome floor pillows and a day later someone pinned on how to make them for $30. Than when I finished my awesome-I'm-still-madly-in-love-with-them Red Stripe Curtains some stranger pinned THE NEXT DAY how to make them for $10. Whatever... mine are better.
Oie... It's getting to be comical now. But on to the project and my experience with it so if you decide to have these love-erly amazing jars like I did you may hopefully do it faster and cheaper.
First I bought all my Ikea SLOM jars. Adorable little things and very reasonably priced. (Did just find out this morning World Market has these jars for the same exact price as well so if an IKEA isn't in your geographic area than skip the Sweedish store and head over to World Market, it's cooler over there anyway.)
Now they look like a very good size but for my purpose I didn't want just something beautiful I wanted it to be functional storage as well so that I wouldn't have beautiful glass jars and a half empty sack of flour lying around. Well... that didn't happen. The medium size jars hold about half a bag of regular size brown sugar and the large jars hold about 3/4 a sack of flour. Fail.
My love said it best:
Bryan: "So you bought these for storage yet they don't contain the whole thing... good job baby."
Boo. Moving on...
After I bought all my jars and washed them out I bought the supplies I needed from the supply list. Now... I'm cheap. I can't help it but I figure if I can skimp a little here I'll have a little more there to make more projects! This thinking has yet to not bite me in the behind... one day I may learn. Probably not though...
YET this one time... it actually didn't matter. Because I don't wash my storage jars every other week I didn't think I needed them to be iron clad waterproof. Bryan would be miffed if I put these suckers in the dishwasher anyway so handwashing is fine with me. Plus I did find out that you'd need to scrub super hard to even make a dent in these to get them off... how I know that may have been because I accidentally labeled the wrong jar but there is no photographic proof I did that so... it didn't happen.
I purchased these waterslide decals from Ebay and skipped out on getting the fancy Magic Decal paper since it was like $30 a pop for five sheets. I mean it can't be that magical... Plus I would have needed a laminator and that would have been another $30 and at the end of the day if I'd a spent $70 bucks on labels for jars that didn't store very much... I would have been a very unhappy thrifty momma.
In order to save that $70 I had to do some tweaking to the Painted Hive's free printables. I'm semi-good at graphic design, I love to design my own invitations and logos and such so I thought this would be a snap. It sort of was... between the three episodes of Seasme Street and Word World I had to watch with Elliot (cause he likes to sit on my lap) plus two sickly kiddos it just took a little longer than expected.
I had to horizontally flip the image to print it as a mirror image to use with the waterslide decals. The magic decal instructions allowed you to print them normally. Now flipping an image horizontally can be very simple. I use a program called Pixelmator that was like $12 that I design everything with. It has a simple button and BAM you are done.
It took me forever to find that button and even longer to turn the PDF into an image that I could actually flip. PDF's are awesome. So hard to work with if you actually DO NOT want them to be a PDF.
The short version? Right click on the PDF file and choose "open with..." I had the option to choose Pixelmator and opened the entire project there, flipped it, saved it and printed it. That five minutes took me three hours... I imagine you wonder at this point why I even bother with doing crafts but it's still all fun and one day I'll look back on these and laugh as hard as you are right now.
So! Now I have my decals, my jars, my Clear Acrylic Spray paint (from Michaels cause Home Depot didn't have that stuff) and I'm ready! I even ordered the cute wooden scoops! Yet... About those scoops. Yea... you should check the size of those suckers before you buy them, a photo below will explain why. It would take me a good twenty minutes to get a cup of flour using those things...
I followed the instructions that came with my decal papers. I took my two sheets outside, sprayed them with a nice coat of Clear Acrylic and let it dry for 40 minutes as instructed.
After sufficient drying (I actually waited) I cut out my piece carefully, had my bowl of warm water, dropped it in there and watched all the ink come off..............
That obviously was not supposed to happen. Looked back at my instructions and tried to find what I had missed... I had printed them at the best resolution, sprayed them, waited for 40 minutes.... than decided to check out Youtube.com as suggested at the very end of the instructions for more clarity.
A HA!!
When spraying these suckers you need to do it multiple times. Spray one coat and wait 30 seconds. Than spray a second coat. Wait 30 seconds than spray a third and wait 40 minutes. I just took the same decals (minus my regular white sugar decal that was still sitting in a washed out puddle) and sprayed them accordingly. And that did it. Awesome.
 |
| Supplies at the ready! |
 |
| It works!!! |
I had my beautiful jars! And once you have all the supplies it's a snap to put them together. No, really. :) I love them and definitely much more than the storage jars that came with the husband. (Though they were great and very useful my love. They have a warm fuzzy spot in my heart because you smartly did them when I didn't even know you had to put stuff like that in storage to keep buys away... Thank you. I'm sure I will re-purpose them into something fantastic like a hat or waterslide... you never know with pinterest)
 |
| Old Hubby Jars |
Now I did actually go to World Market to get that tiny little jar for my baking powder and found the two giant jars at The Container Store for $9.99 a pop. I mean I had put forth all that effort that I had to make them work as functional storage. I couldn't give up when I'd came so far.
By the way, did I mention I found a pack of labels at World Market's website this morning for $3.99?
Comical right? Mine are way better...
God Bless,
Jessica


