

Do you have a friend that has impeccable taste in everything from clothes to food?
I have three.

One of them even has her own blog about that awesome taste of hers.
It's called Style me Southern and you should check her out. She's adorable.
I follow her on instagram and one day she posted a picture of this shirt that
I HAD TO HAVE!!
It was from Ily Couture
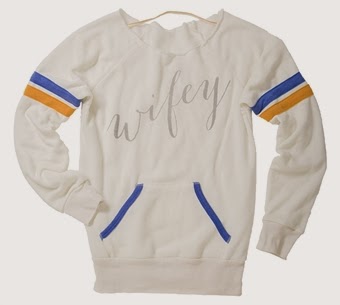
I was a wife and LOVE letting people know how much I enjoy being a wife...
This was MADE for me.
So, I went to the shop but I wasn't quite ready to splurdge that much...
Even though I know it's probably the best quality and amazing.
I figured I could probably do it myself though and if I couldn't... I had a backup to buy it.
So what was the harm?
I ran out and got some Vintage Tee's from Old Navy and some Simply Screen Print paint.
This is my new paint. I've bought a bunch of it and this was my first time trying it.

I've only found it at Hobby Lobby so don't bother with Jo-Ann's or Micheal's, they aren't fan's of it.
A lady at The Creativity Exchange said this was the BEST paint to use on fabrics because it didn't bleed and it had the richest hughes. She's been crafting for like 30 years so I figure she knows her stuff.
I'm going to use it to make my gold confetti curtains this week but it seemed wise to test it out on a
t-shirt first.
So, I started with a design I did quickly in Microsoft Word.
wifey
I had done a test print on regular paper first to make sure the Wifey was the size I wanted on my shirt.
Then I found my freezer paper and this is where I had to get creative.
You want to print on the NON SHINY side of the paper. The shiny side is the wax you will use to stick your design to the t-shirt with an iron.
Normally since freezer paper is all curled up it curls so it won't go straight into your printer.
Now to fix this you would just spray glue it to a piece of paper.
That was not a good option since I wanted to iron the paper onto my shirt later so I didn't want to ruin the waxy side with glue.
I took one edge of the freezer paper and put a strip of glue from a glue stick on one side and stuck it to a regular piece of paper. Then I ran that side first through my printer.


Worked like a charm and it didn't ruin the entire paper. I could just cut that edge off.

I pulled out one of my new Christmas presents from the BEST HUBBY EVER.
Sigh... I love that man. So sexy and so amazing...
Sorry... was distracted.
Anyway, I pulled out my Xacto Knife Box. It has like more Xacto knife sizes and blades then I will need in a lifetime. It's super dangerous too... I cut my finger open the first day having it. Lame...
I had an old cutting board and went to town.

I kept all the hole cut outs from the swirl in the w to the f, e and y since I'm going to use those still.
You can add these to your shirt with an iron so you won't have to guess about where to paint around.

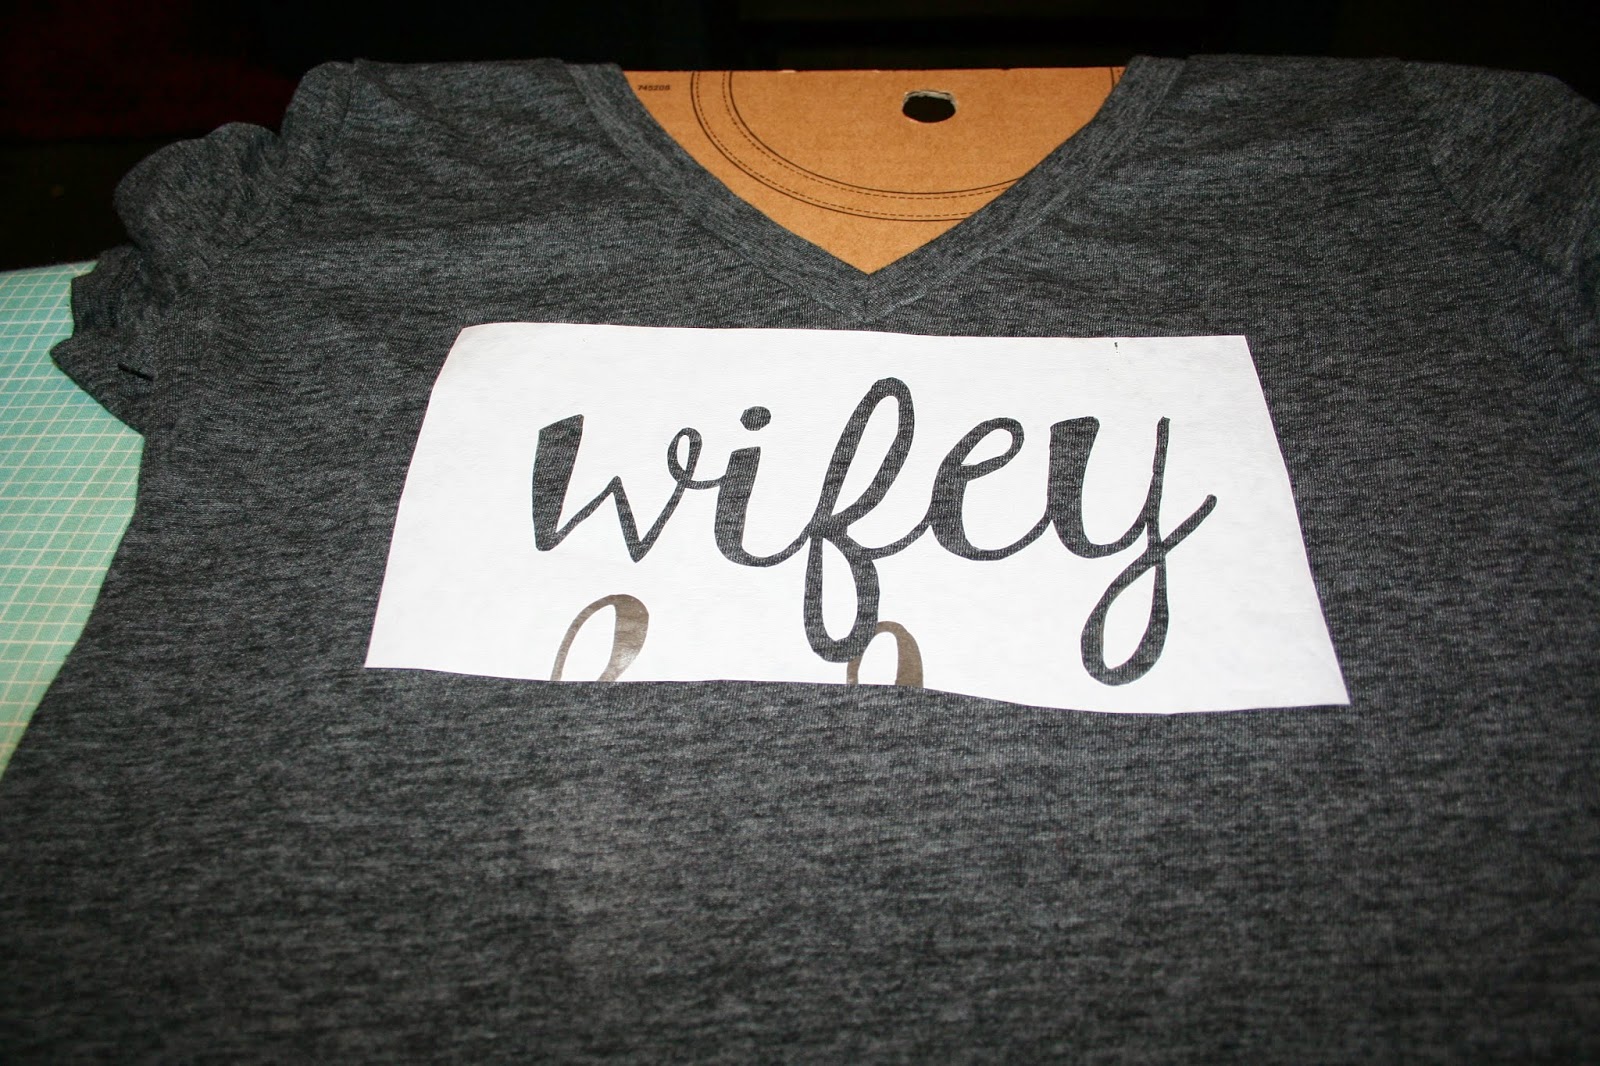
I set my iron to cotton blend and put the shirt on a cheap t-shirt cardboard cut out that I got for $1 at Hobby Lobby. I taped the shirt to it to make sure the fabric was tight. I didn't go super tight since the shirt was stretchy and I didn't want it to be oddly stretched on the front of the shirt and look wonky.

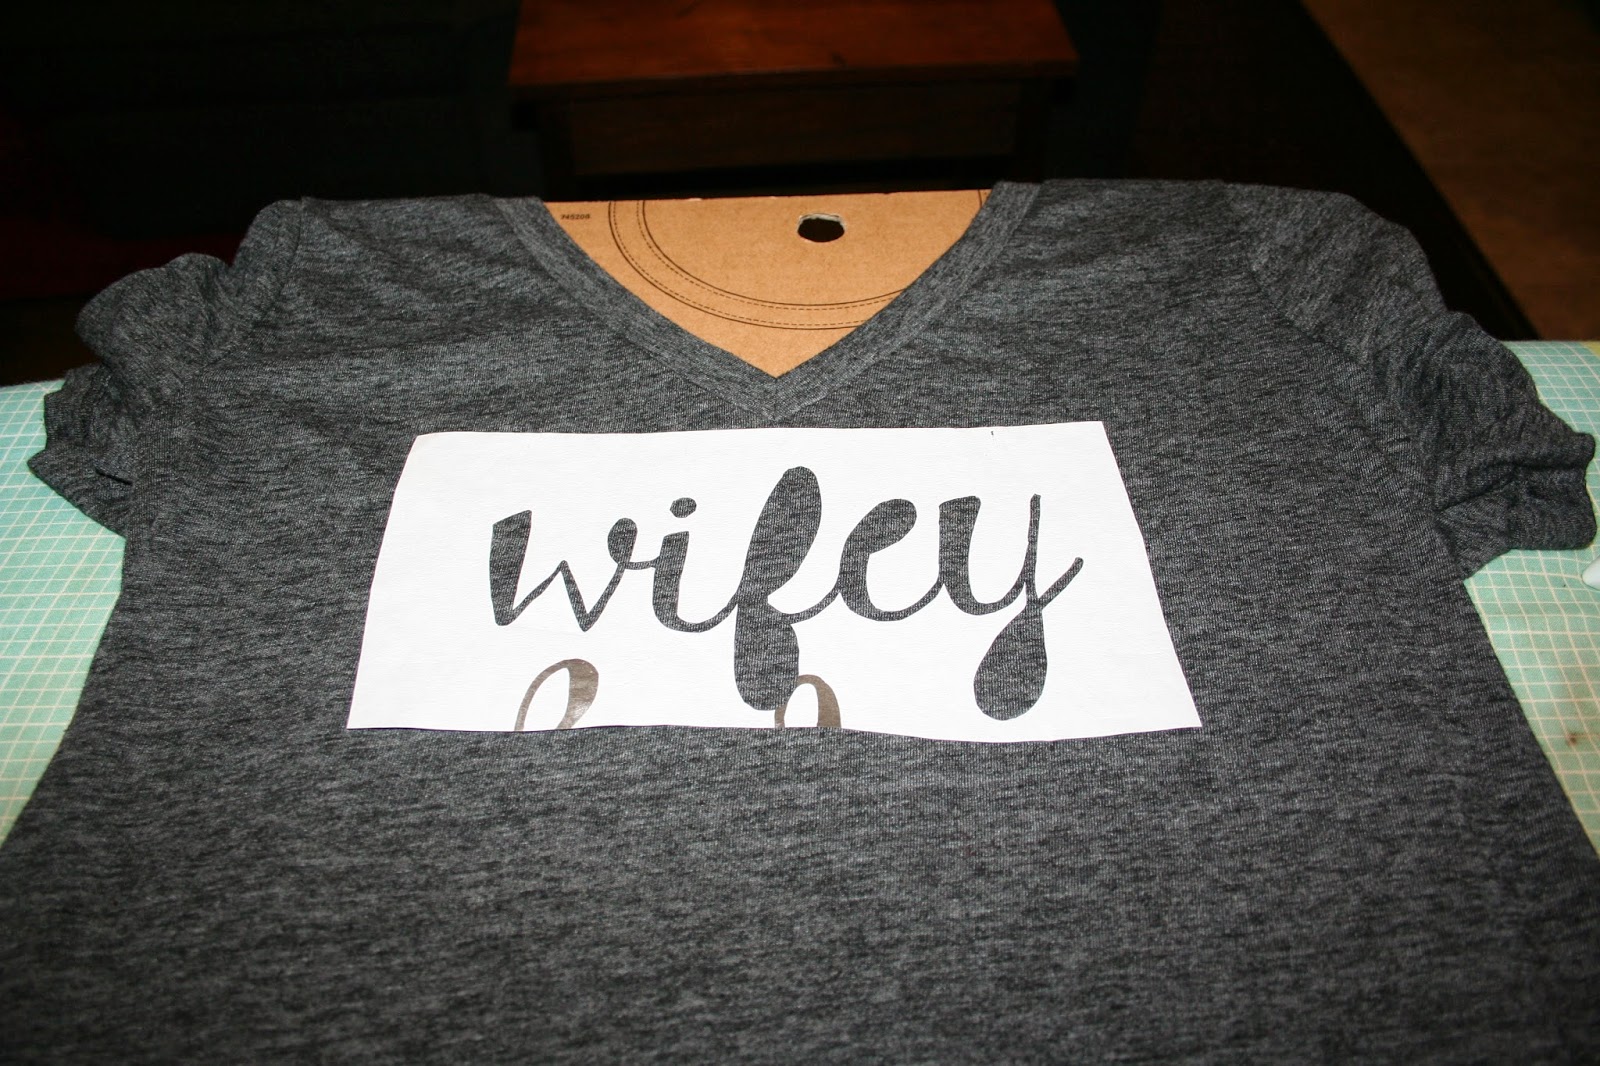
I ironed on my cut out and made sure it was on their tight, running the iron over it multiple times to make sure.
The Awesome thing about this screen print paint is that it doesn't bleed.
No, seriously... it doesn't bleed. It's pretty epic.

I did a few coats of the gold paint till I got it to a color I liked.

Then I waited for it to dry.
A whopping ADD Crafter 5 minutes.
Super hard five minutes... I even took a blow dryer to it to speed it up.
I peeled off the cut out and
BOOM!!!

Wifey shirt.
Love. Love. Love.
Loved it so much I made another one in white. The gold one is for a friend's Birthday. Shh... she doesn't know. I mean... she probably will figure it out reading this though... drat.

Not too bad for less then $10 and about a half hour of my time.
Win.
I tried to model it like Megan does in all her cute selfies...
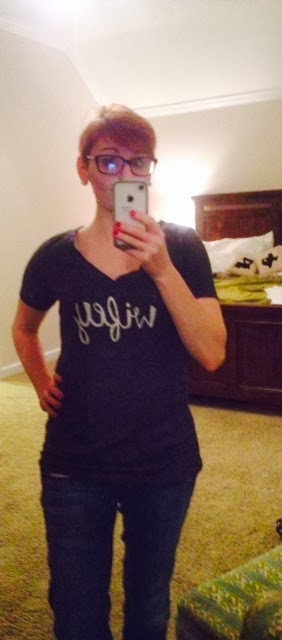
Yea, I'll leave that stuff to the professionals.
Supplies Needed:
- Design
- Printer with paper
- Freezer Paper
- Glue Stick
- X-acto Knife
- Cutting Board
- Iron & Ironing Board
- Cardboard
- T-shirt
- Screen Print Paint
- Paintbrush
Let me know if you have any questions and feel free to Pin it all over Pinterest.
Many Wifey's be needing this shirt y'all.
God bless and Much Love,


