
Have you ever seen something on Pinterest and thought... I Have to Have that.
This is one such item that I immediately fell in love with:

It's from Mothology and is modeled after a vintage Hotel Key Rack from when Hotels actually used real keys. I loved the idea... how stunning!
I mean Keys need a good home too don't they??
Of course they do. Just not for $62 plus $14 in shipping. I don't love them that much.
I found this tutorial at RemodAholic and while stunning and pretty much identical to the original... that was a bit more work than I was looking to do (I mean I'm good but not THAT good) and I was not really in love with the hook and label system. The keys would not come off those hooks easily and I'd end up yanking that thing "accidentally" off the wall.

So, as always I'm looking for the easier and faster way to make something awesome.
While sometimes it works... other times... it is never easier or faster.
This was no exception. I love/hate this project because it took me over six months to do.
Should it take six months? No. It should take two days.
Why did it take me six months? Cause I'm special like that.
I picked up some pre-cut 2"x1" boards at my local Home Depot/Lowes.
I got six as I wanted a life size Key Holder as it was going in my laundry room.
I stained all six boards with Minwax Classic Gray stain.

Love it and it gave it the aged wood look I was going for.

Don't you love my yellow drop cloth? Bryan finally threw it away once it got so stiff from spaypaint that it wouldn't fold up anymore. Ah memories...
I was picky about what metal labels I was going to use to mark the key hangers. I wanted them to look elegant and vintage so I scoured Ebay and Amazon for them until I finally settled on these babies:
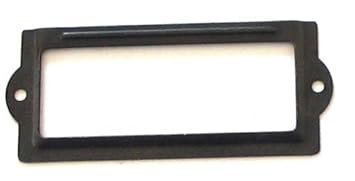
They were pricier than I wanted, which was another delay on my part because I did not want to pay that much for them. But they were what I needed and pretty comperable to what I've seen everywhere else so I caved...
After that I had to figure out how to hang the keys on the wood. I didn't really like the open hook tutorial... it just looked like a hazard to my accident prone self. By luck I found these crazy looking things by Ook in the Frame Hanging section of Home Depot.
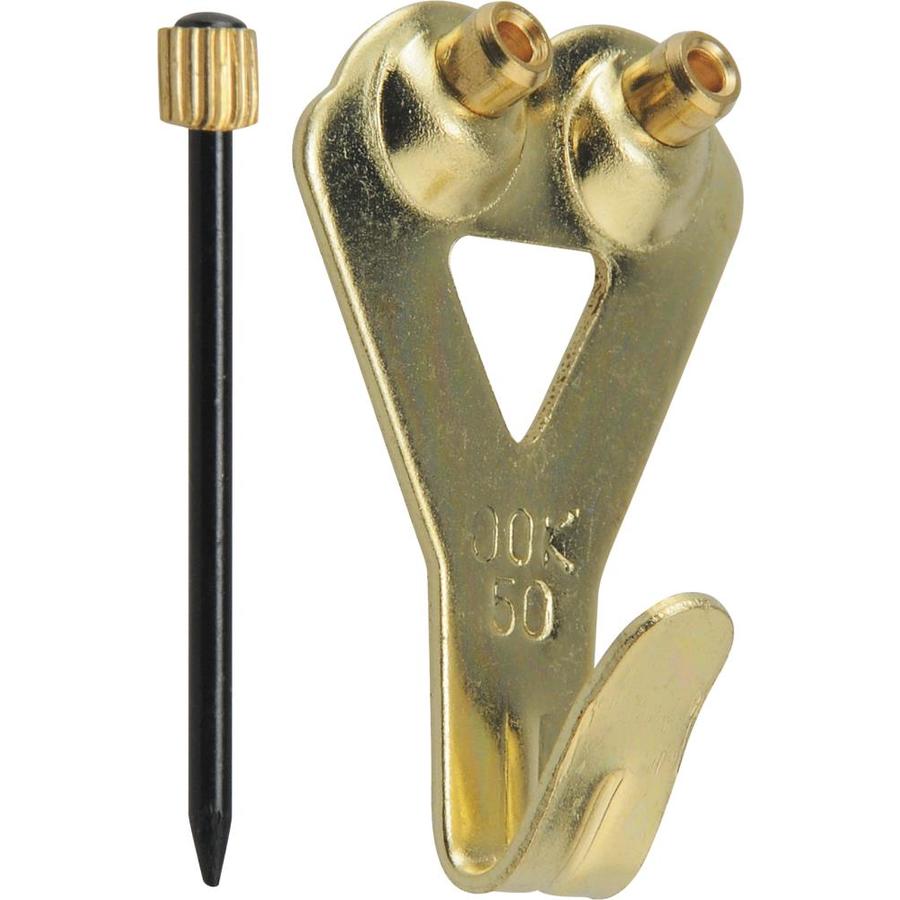
They were bright gold but that was nothing a can of Oil Rubbed Bronze Spray Paint couldn't fix.
So, now I had my labels and my hooks!
The tricky part came when I was trying to actually make the sign.
For some reason I was convinced I could just glue this sucker together and it would stay.
I was wrong. But that didn't stop me from trying for over three months.
That's right. I tried to glue this thing together for THREE MONTHS.
I'd get two or three together and the other three would break off. Sigh...
Finally I decided to use metal latches and screw them together two at a time.
That caused them to shift since the glue was still not holding the suckers together.
So... I did what any responsible adult would do.
I threw them in the garage and pretended they did not exist for two months.
For some reason I did NOT want to attach the pieces with wood on the back. I wanted it to lie flat against the wall and not be propped up because of it's support structure from behind.
Finally I completed another project for a friend some Pottery Barn Brother & Sister Knockoff Wood Signs. I found a thin board that helped bring the signs together and didn't have them sticking too far off the wall so... I took the scrap pieces from that project and finally gave in.


Put it all together in about ten minutes.
Took six months to get to that ten minutes... oie me.
But there it was: Absolutely stunning.


I used some white cardstock and number stamps to make the numbers for the labels than hung it immediately in my laundry room. It's a good start to trying to decorate that blah laundry room.
I pass it everyday and I am in love. I'm not the only one either... I got commissioned to make an identical one for my friend Hollie. Her's should only take me two-three days. Hopefully.
Materials Needed:
6 -- 2"x1" pre-cut boards that are about 26" long.
1 thin piece of board about 1" wide and a quarter inch thick cut to make two small strips to hold your sign together.
Wood Stain
Metal Labels
Hanging Hooks
Card Stock
(You can either stamp on the numbers or just run them through your printer)
Hopefully yours will only take a few days and not months like mine.
Your keys deserve a good place to rest their heads.
Give it to them.
God Bless and Much Love,
Jessica
*** UPDATE ***
So, I built another one of these beauties for my friend Hollie and it only took about four hours.
(That cause stain has to dry... and it takes forever....)
What do you think? She actually ended up taking my brown one and I now have that new gray one in my Laundry Room. Looks just as awesome.

Also this was featured on Tatertots and Jello!!

I'm totally blushing.
Check it out here and be amazed with me.
This is linked up at Whipperberry, 504 Main, Tatertots & Jello and Chic on a Shoestring


Love this!! Just popping in from TT&J. Looks great :)
ReplyDeleteThank you Ali!
ReplyDeleteI love this! Such a great idea, its a piece of artwork, yet functional. If you get a chance, please link this up to my linky party: http://suburbsmama.blogspot.com/2013/07/sunday-linky-16.html
ReplyDeleteRita, stop it! You're making me blush. ;)
ReplyDeleteThanks for the invite! I'd love too! And thanks so much for stopping by and reading about my craziness
Such a cute knockoff... totally love this idea!! Have got to figure out somewhere I could use it.... hmm... must pin for future reference!
ReplyDelete