I like making things that last.
Do it once and use it forever right?
While styrofoam trees and painted pine cones are AWESOME they never look the same when I pull them out the next year. (Usually cause I didn't pack them properly the year before...)
I wanted to make some lasting items this year and the first one on my list was this bad boy:
That is just a plank of wood and some white and red paint.
Talk about super easy and about $6 for two.
That's right... for TWO.
Make one for you and ya momma!
Stop by Home Depot and pick up a pine 6ft board that's about seven inches wide.
(Home Depot you need to sponsor me and give me tons of wood and products. Please. :) )
I had the happy people in the orange vests cut it in half and VIOLA... two signs.
I took my new signs home and pulled out my mouse sander. I sanded down the corners a bit then made sure the wood was smooth all around so when I painted or stained it the color would go on smooth.
Then I grabbed whatever paint I had lying around. You can use paint samples you've acquired, a grey paint you used in your Living room or any color you like.
I grabbed my trusty gallon of Kilz Primer paint and painted both sides white.
After I let it dry I pulled out my Classic Grey Minwax stain and a cheap pair of rubber gloves. I used a Q-tip dipped in the stain and just rubbed it into the corners and along the edges.
Stain is a fickle friend. It adds instant change but even when you think it looks bad, it actually doesn't.
So, use as much or as little as you like or just keep your board painted the color you choose!
It will be in your house. Do what you like.
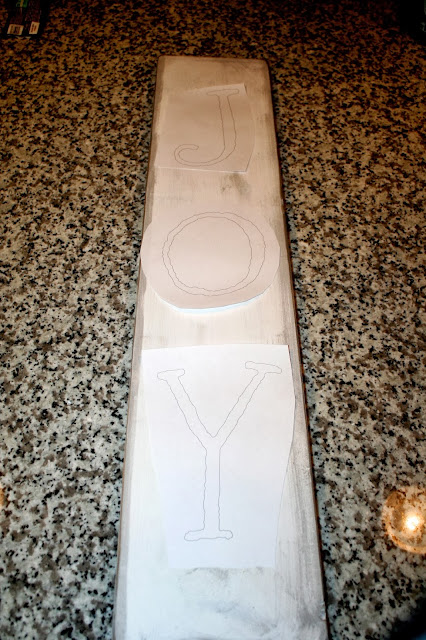
While it was drying I decided what I wanted my signs to say and opened a Word Document and just put it in.
Since the board was only 7in wide I could use regular printer paper. Score.
I had to print out the JOY twice just to get it the size I wanted.
You can measure it all out or just wing it. I wing it and pray for the best.
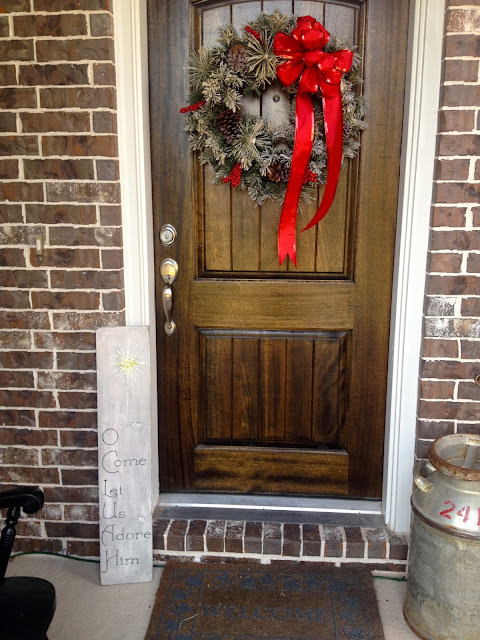
On the other side I wanted O Come Let us Adore Him with the Nativity star.
I found a star jpeg I liked online, printed it out the full size of a page and then the rest of the words.
To transfer your print outs to your wood all you have to do is flip them over, shade the back of the text with a pencil then tape it onto your project:
Trace and voila!
I have a more detailed tutorial here if you'd like: DIY Easy Hand Painted Wooden Signs
After I finished with my JOY sign I took my mouse sander to it again to rough it up and age it a bit.
The other side though I used glitter and had a bunch of fun with it.
Here are my finished products:
What do you think?
I'd love to see what Christmas sign you make!
God bless and Much Love,
Jessica


Hello Jessica! My name is Katy and I'm the social media coordinator for KILZ brand products. Your DIY wooden Christmas signs are simply adorable! We are glad to read that you grabbed your "trusty gallon" of KILZ primer to prepare the planks of wood. We would LOVE for you to share your experience by writing a review. Visit our review page, select the product(s) used, rate and write a brief description and hit submit - it's that simple! We would greatly appreciate the feedback. Thanks so much and happy holidays!
ReplyDeleteLink to review page: http://www.kilz.com/primer/v/index.jsp?vgnextoid=8ad359ff4f72d310VgnVCM100000176310acRCRD
Thanks Katy! I'll do that. I didn't realize KILZ made so many different types of products. Thanks for stopping by!
DeleteYou rock! Again beautiful signs.
ReplyDelete